18 Gorgeous Open Kitchen Shelving Looks You’ll Actually Use
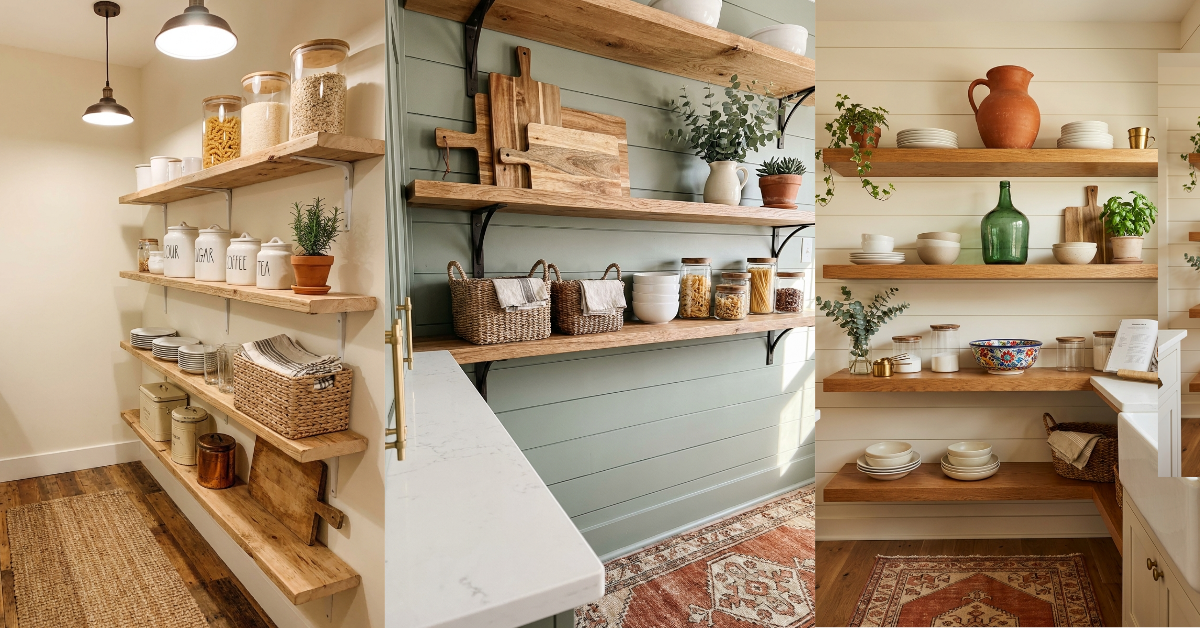
You installed those beautiful open shelves in your kitchen, and for about two weeks they looked amazing. Then reality hit. Now they’re holding mismatched mugs, a random collection of water bottles, and that weird serving bowl you never use but can’t throw away. I’ve been there. Open shelving is stunning when done right, but it’s also weirdly hard to style without looking like you’re trying too hard or not trying at all. The good news? There’s a sweet spot between Pinterest perfection and real-life function, and it’s totally achievable. You don’t need to buy all new dishes or hide everything behind closed doors. You just need a few smart styling tricks that actually work with the stuff you already own. Let’s get into it.
1. Start With Your Everyday Dishes as Your Foundation
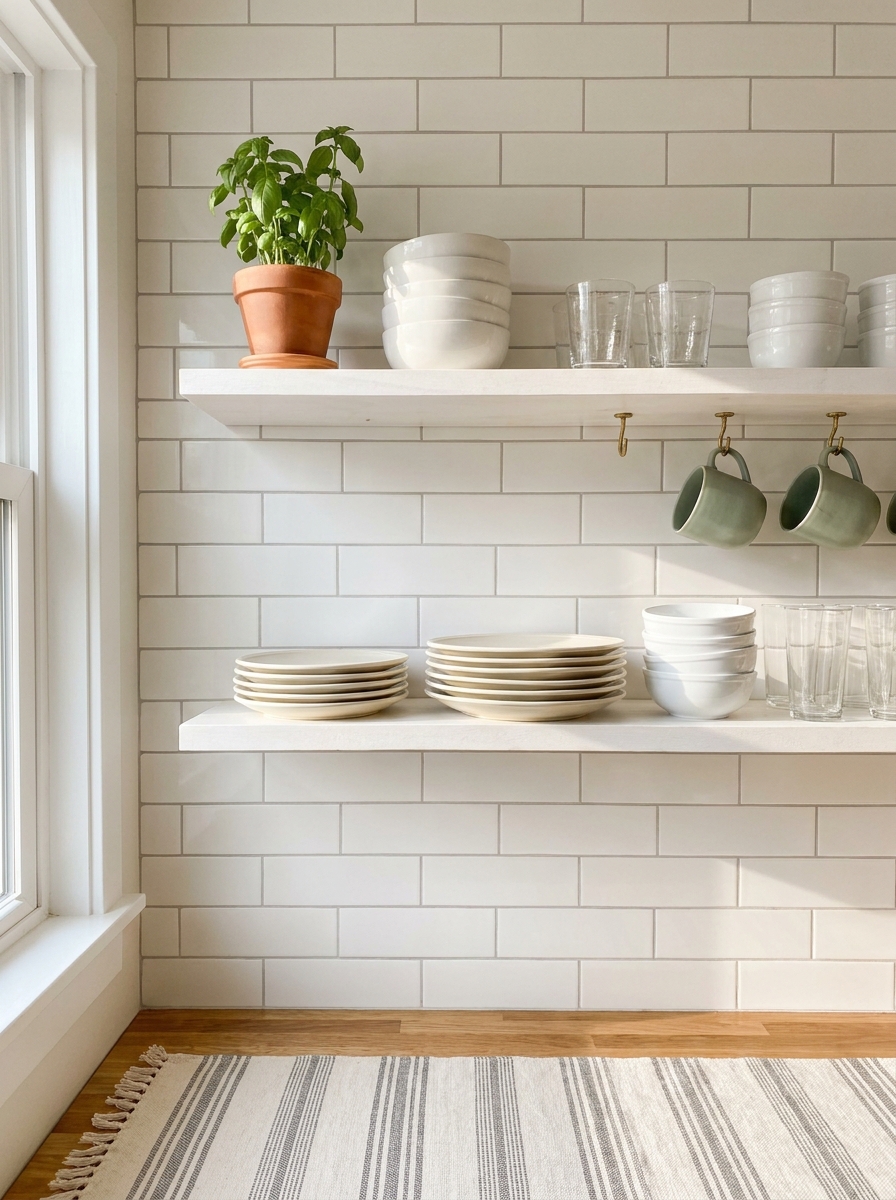
Here’s the secret nobody tells you: the best open shelving starts with what you actually use every day. Not the fancy stuff. Not the wedding china collecting dust. Your regular dinner plates, the bowls you grab for cereal, the mugs you drink coffee from every single morning. These should be front and center because they’re doing double duty as both decor and function. Stack your everyday plates in groups of six to eight—it creates visual weight without looking cluttered. White or cream dishes are your best friend here because they work with literally everything and create a clean backdrop. But if you’ve got a colorful set you love, own it. Just keep them together so it looks intentional, not chaotic. And here’s the thing about everyday dishes on display: you’ll actually put them back nicely because you can see them. It’s weirdly motivating. Place your most-used items at eye level where they’re easiest to grab. Save the higher shelves for things you use less often. This isn’t just about looking good—it’s about making your kitchen actually work better for how you live.
2. Layer in Texture With Wood and Woven Pieces
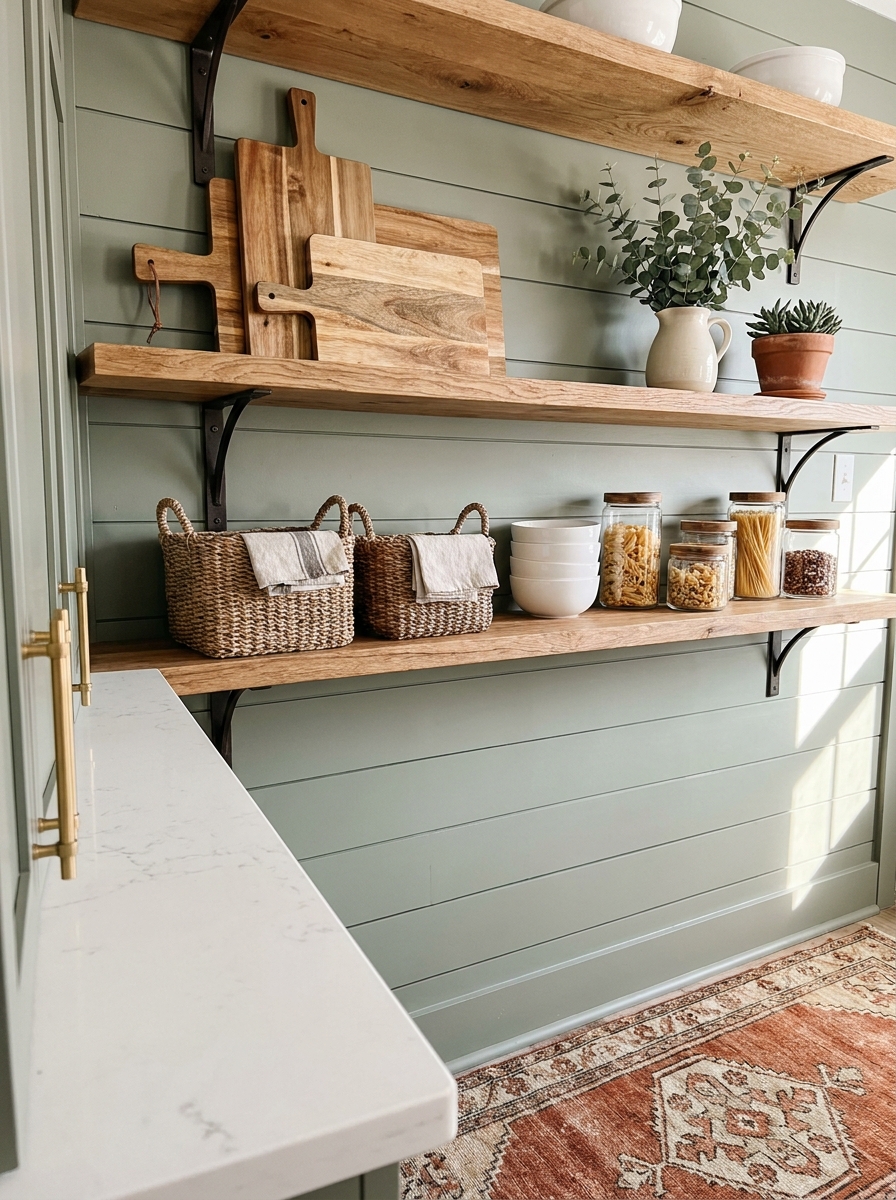
All dishes and no texture makes your shelves look flat and boring. You need something to break up all that ceramic and glass. Wood is your answer. A few wooden cutting boards leaned vertically against the back of your shelves instantly add warmth and dimension. They also happen to be things you actually use, which keeps everything functional. I like to mix sizes—one large board, one medium, maybe a small round one. Woven baskets are the other texture hero. They’re perfect for corralling things that don’t look pretty on their own: snack bags, extra napkins, those weird kitchen gadgets you need but don’t want to see. A low rectangular basket on a lower shelf grounds everything visually. A smaller round basket up high adds interest. The key is choosing baskets in natural materials—rattan, seagrass, wicker—in neutral tones that don’t compete with your dishes. And don’t forget wooden utensil holders or a simple wooden tray to group smaller items together. These natural textures make your kitchen feel collected and warm instead of cold and sterile. It’s the difference between looking like a showroom and looking like a home.
3. Create Visual Balance With the Rule of Threes
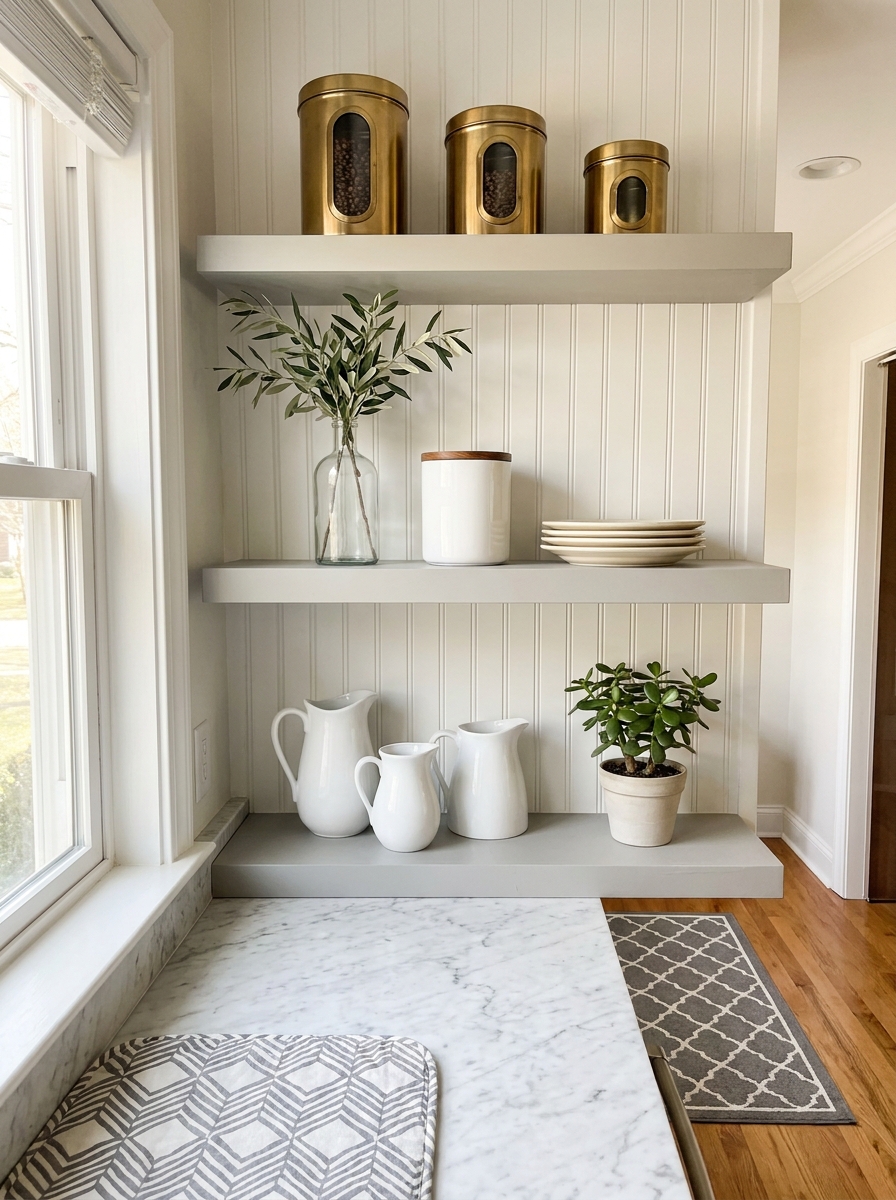
Styling in groups of three is one of those design tricks that sounds too simple to work, but it absolutely does. Your eye naturally finds three items pleasing and balanced. So instead of lining up five small jars in a row, group three together. Instead of spacing out objects evenly across a shelf, cluster them in threes with breathing room between clusters. This works for items of different heights too. Pair a tall ceramic vase with a medium-sized canister and a short stack of small plates. The varied heights within the group of three create movement and interest. You can also think of this in terms of visual weight—three substantial items on one shelf, balanced by three lighter items on the shelf below. But here’s the important part: you don’t have to be rigid about it. Sometimes two things look perfect together. Sometimes four items in a row work because they’re all the same size. The rule of threes is a guideline, not a law. Use it when you’re stuck or when something feels off. Group three things, step back, and see if it looks better. Nine times out of ten, it does.
4. Mix Open Storage With Closed Containers for Function
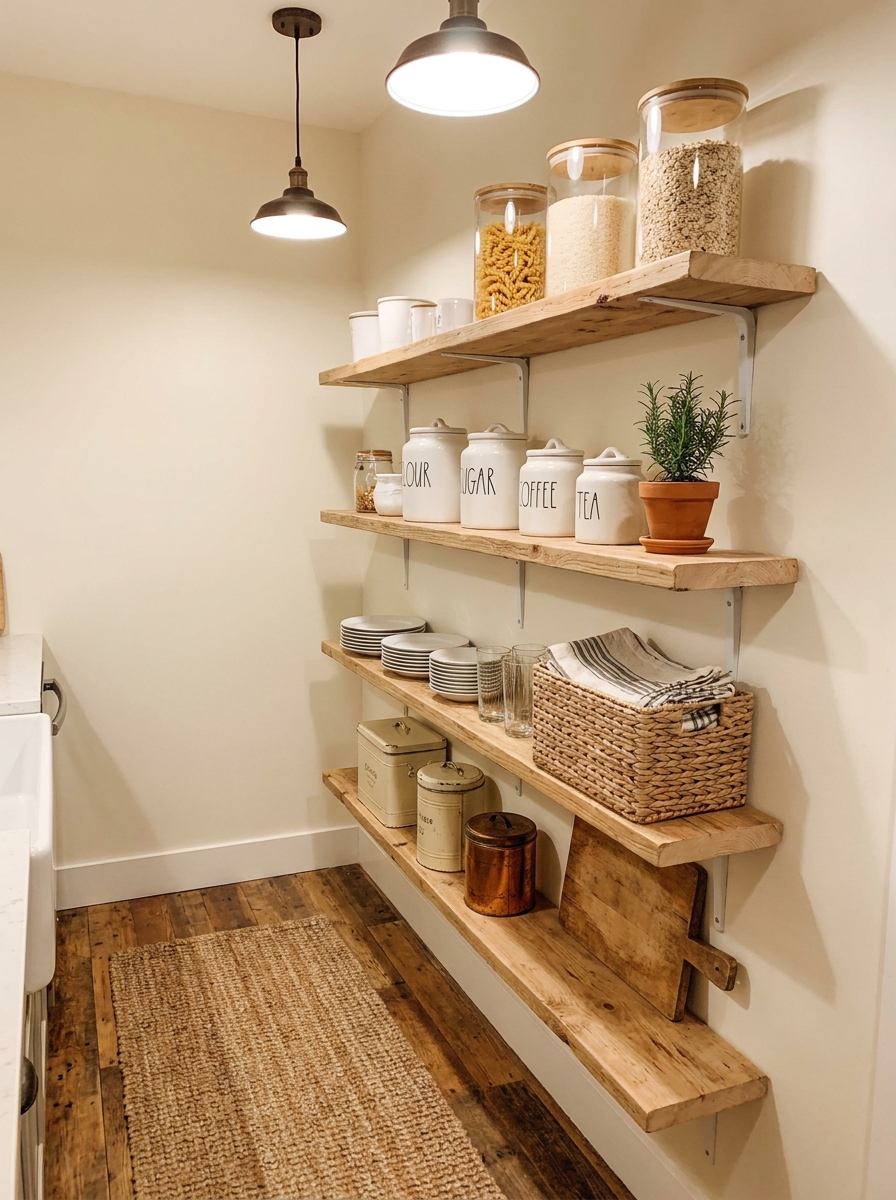
Let’s be honest—not everything in your kitchen is cute enough to display. And that’s totally fine. The trick is knowing what to show and what to hide. Glass canisters with airtight lids are absolute lifesavers. They let you store dry goods like pasta, rice, oats, and coffee beans while actually adding to your shelf aesthetic. The contents become part of the design. Choose canisters in similar styles—all glass with wood lids, or all clear glass with metal clamps—so they look cohesive even when they’re holding different things. Then balance those transparent containers with solid closed containers for things that aren’t so pretty: backup supplies, random packets, that half-bag of flour. White ceramic canisters, vintage tins, or simple labeled boxes all work beautifully. The key is creating a visual rhythm—some open, some closed, some transparent, some opaque. This gives your eye places to rest while keeping everything functional. You’re not just styling for looks; you’re creating a system that works. And when your open shelves work for real life, you’ll actually keep them looking good.
5. Add Height Variation to Keep Your Eye Moving
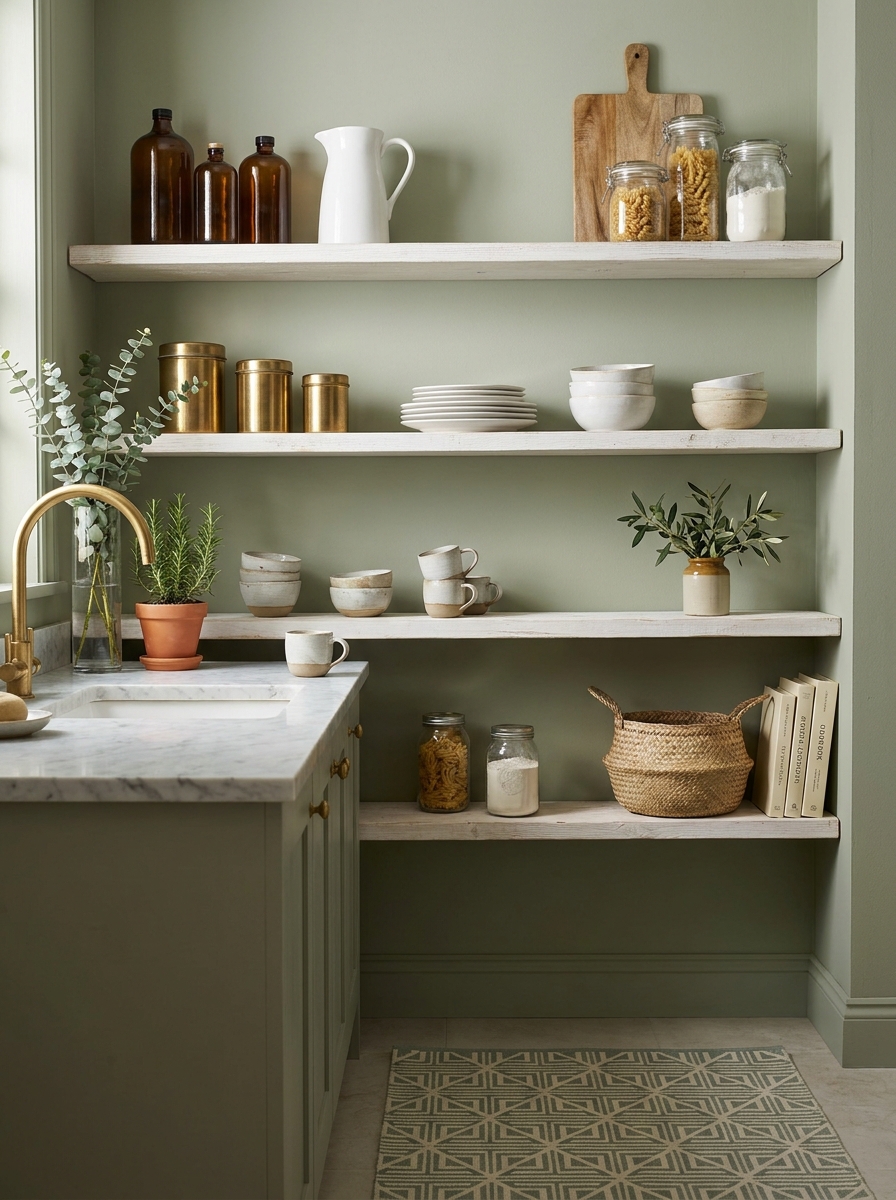
This is where open shelving gets really fun! You know how a flat landscape looks boring but mountains make everything interesting? Same idea here. Your shelves need peaks and valleys to feel alive.
I love placing tall pitchers or bottles next to short stacks of bowls. Stand a cutting board upright behind some plates. Tuck a slim vase between your coffee mugs. This vertical variety creates natural rhythm that pulls your eye across the whole display instead of letting it get stuck in one spot.
The trick is thinking in layers. Your back row should have your tallest pieces, middle row gets medium-height items, and front row stays lower. But don’t make it too perfect! A tall glass here and there in the front row breaks things up in the best way. I actually rotate one tall element to each shelf just to keep things dynamic. It’s like giving each shelf its own little personality instead of making them all match.
6. Embrace Negative Space Like It’s Your Best Friend
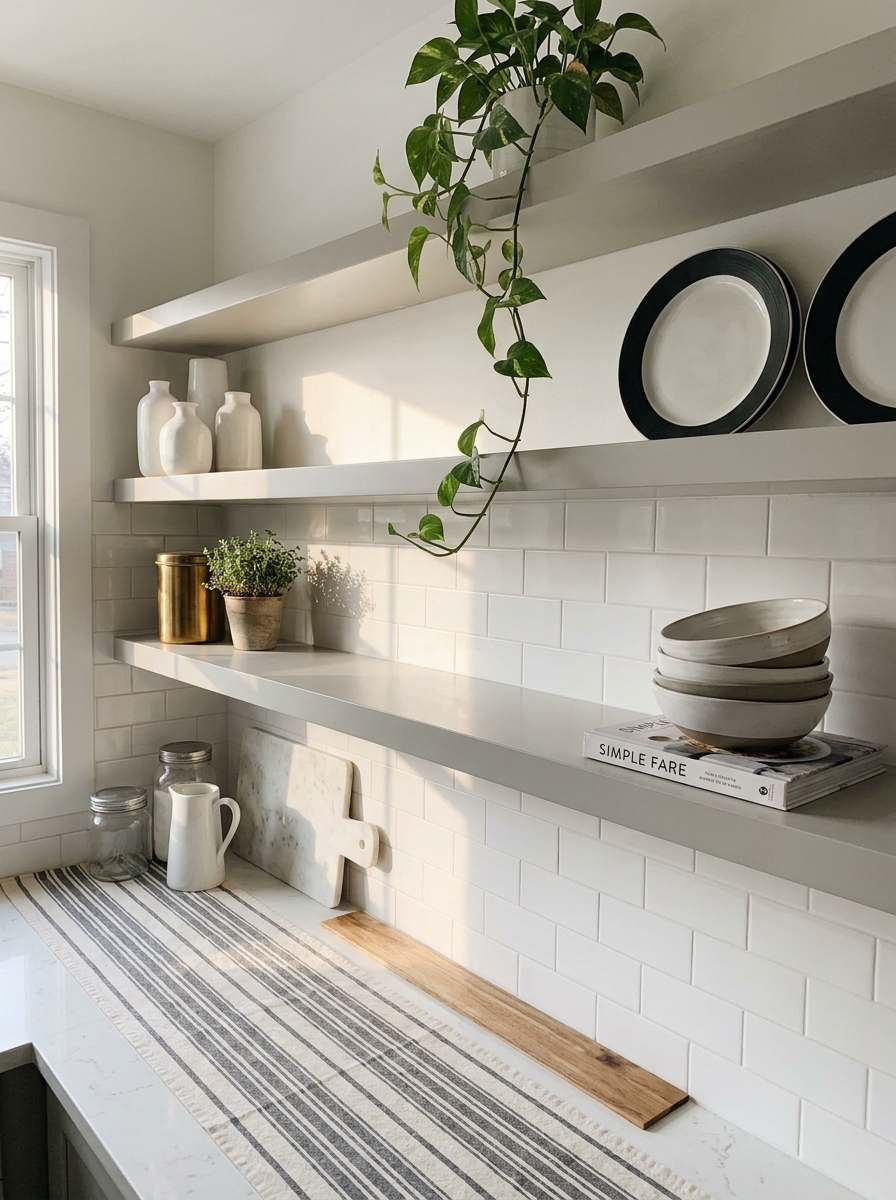
Here’s what nobody tells you about styling open shelves — empty space is not your enemy. Actually, it’s what makes everything else look intentional instead of cluttered.
When I first styled my kitchen shelves, I packed every single inch because I thought that’s what you’re supposed to do. Wrong! It looked like a dish warehouse. Now I leave breathing room between groupings, and suddenly everything feels expensive and curated. Wild how that works, right?
Think of your shelf like a page in a magazine. You need white space around the important stuff so your eye knows where to land. I aim to keep about 30-40% of each shelf empty. Group your items in clusters of three or five, then leave gaps between those clusters. Those pauses are what let your pretty dishes actually shine instead of competing with everything around them. Your shelves will literally look bigger and calmer overnight.
7. Work in One Statement Piece Per Shelf
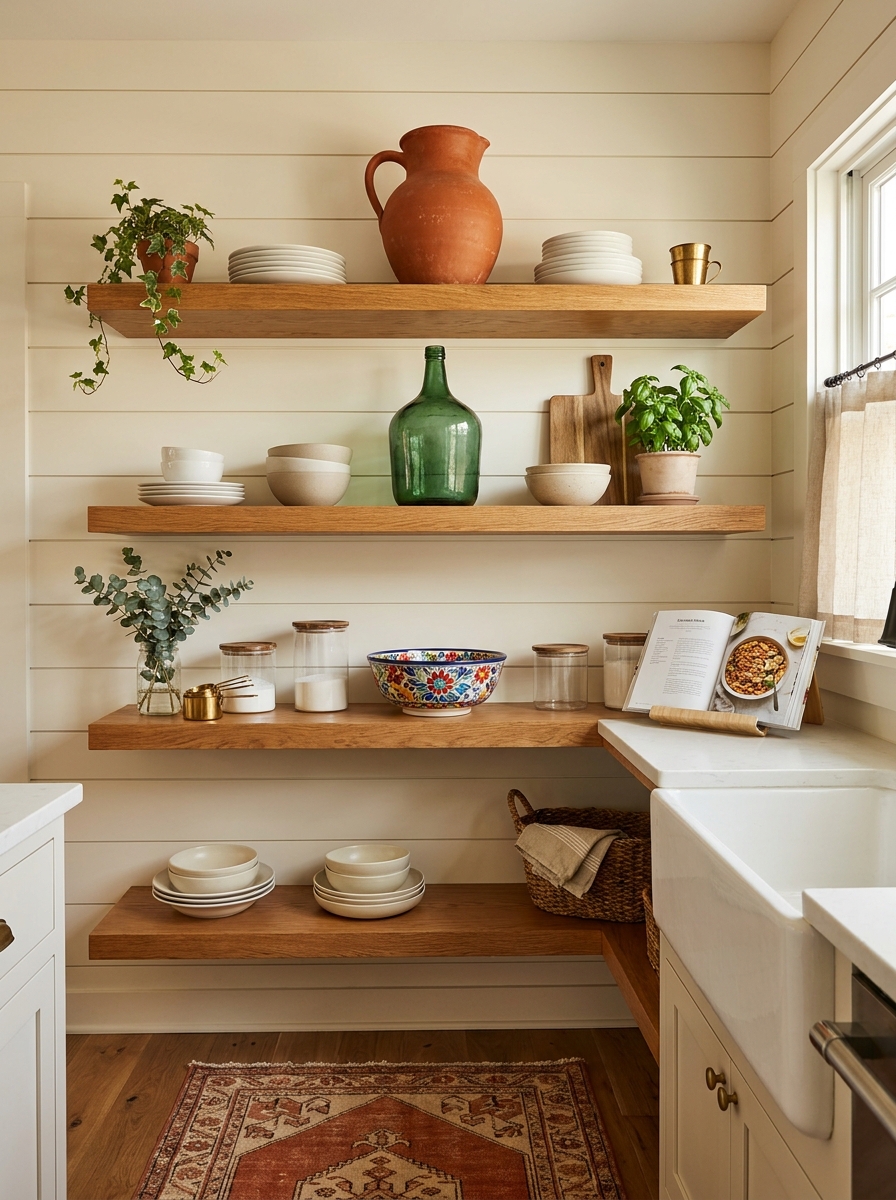
Every shelf needs a main character. Something that makes people say, “Ooh, what’s that?” It could be a vintage ceramic pitcher, a colorful bowl, an antique bread box, or even a really beautiful cookbook with a gorgeous spine.
I like to think of it as the anchor piece. Everything else on that shelf plays a supporting role, but this one item gets to be the star. On my top shelf, it’s a tall cream pitcher I found at a flea market. Middle shelf? A terracotta bowl from Portugal that has the prettiest glaze. Bottom shelf features a vintage brass canister that catches the light.
The beauty of this approach is it gives you permission to mix in special pieces without overthinking. Your statement piece can be colorful while everything else stays neutral. It can be fancy while the rest is everyday. That contrast actually makes both the special thing and the regular stuff look better. Plus, it makes styling so much easier because you start with your star and build around it.
8. Rotate Your Display Seasonally to Keep It Fresh
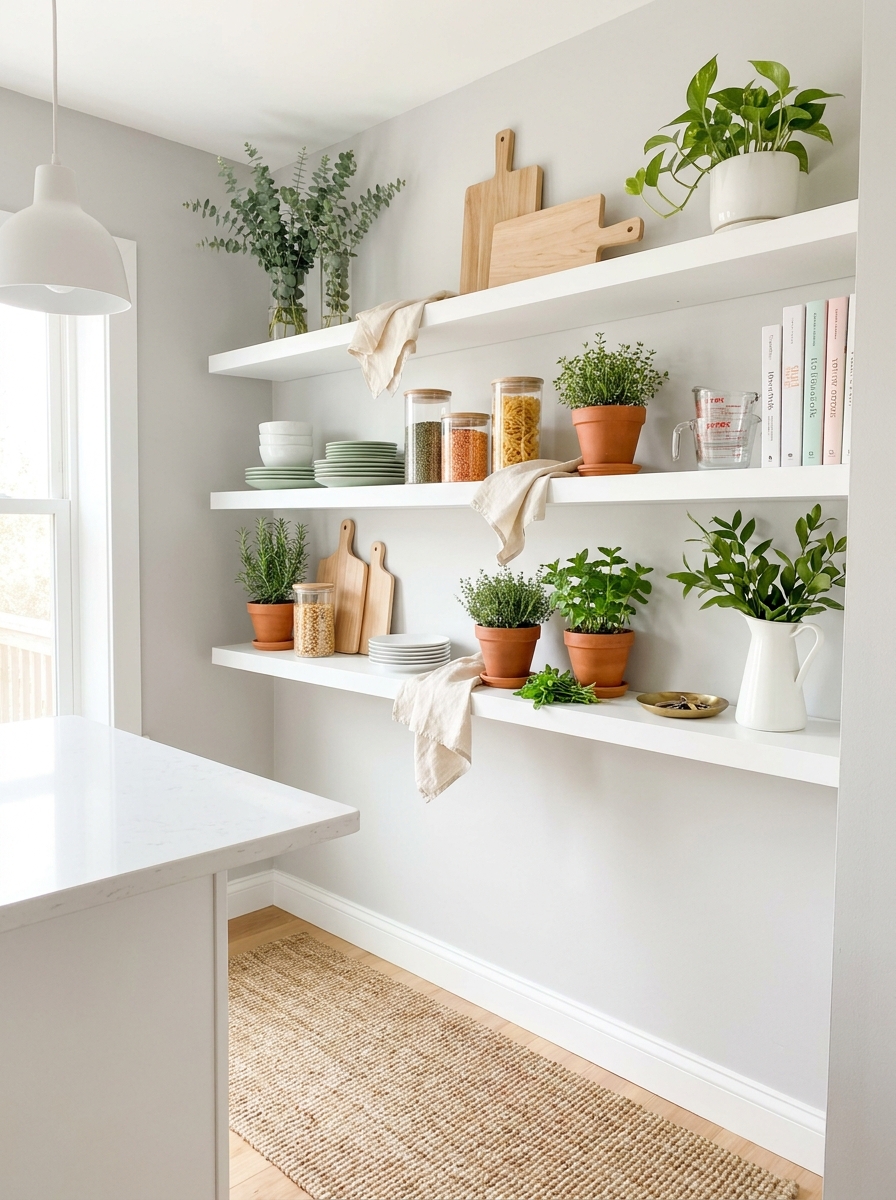
This is my favorite secret for keeping open shelves from getting boring! You don’t need to buy new stuff — just switch things around every few months. It’s like redecorating without spending a dime.
In spring, I bring out my lighter dishes and add fresh herbs in little pots. Summer gets bright white everything with lemons in a bowl and lighter linens. Fall means warmer tones come out — my terracotta pieces, amber glass, and maybe a small pumpkin tucked in. Winter? Richer colors, darker wood boards, and cozy mugs get prime real estate.
The physical act of taking everything down, wiping shelves, and rearranging is actually super satisfying. Plus, you rediscover pieces you forgot you loved. I keep a bin in my pantry with “off-season” shelf items so they’re ready to swap when I get that itch for change. Your kitchen stays interesting all year, and guests always think you’re constantly redecorating. Little do they know it’s the same twenty items just playing musical shelves!
9. Group Items by Color Family for Instant Cohesion
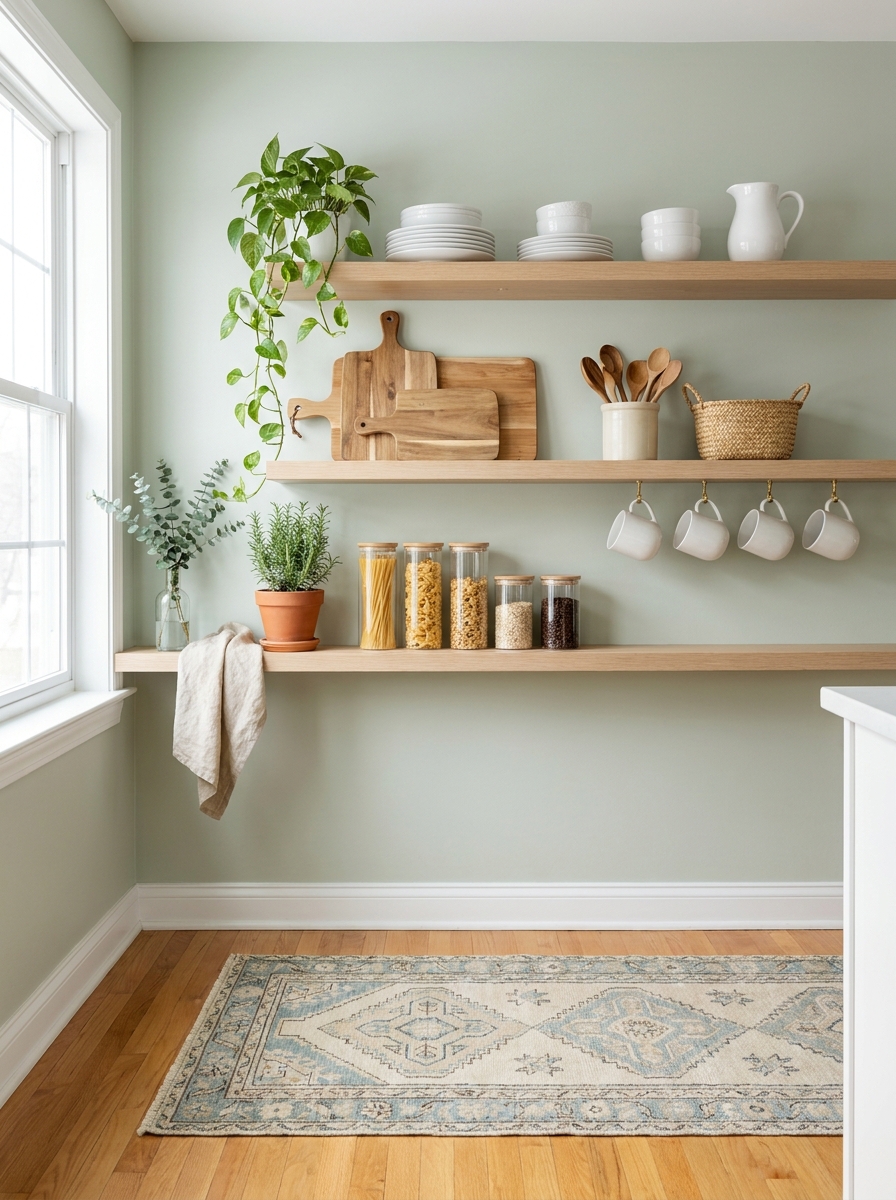
This trick is so ridiculously simple, but wow, does it make a difference. When you group your dishes and accessories by color instead of just throwing everything up randomly, your shelves instantly look more intentional.
I’m not saying everything needs to match perfectly—that’s boring! But when you cluster your white ceramics together, your wood pieces in another area, and your glass items in their own little zone, your eye can actually rest. It creates these visual pockets that feel organized without being uptight about it.
Start by pulling everything off your shelves (yes, everything) and sorting into color piles on your counter. You’ll probably be shocked at how much cream and white you actually own! Then put things back in color-blocked sections. Your white dishes here, your natural wood cutting boards there, maybe a shelf dedicated to those gorgeous green glass bottles you’ve been collecting. The result? Shelves that look curated instead of cluttered, even when they’re packed with the stuff you use every single day.
10. Use the Bottom Shelf for Your Heaviest (and Prettiest) Pieces
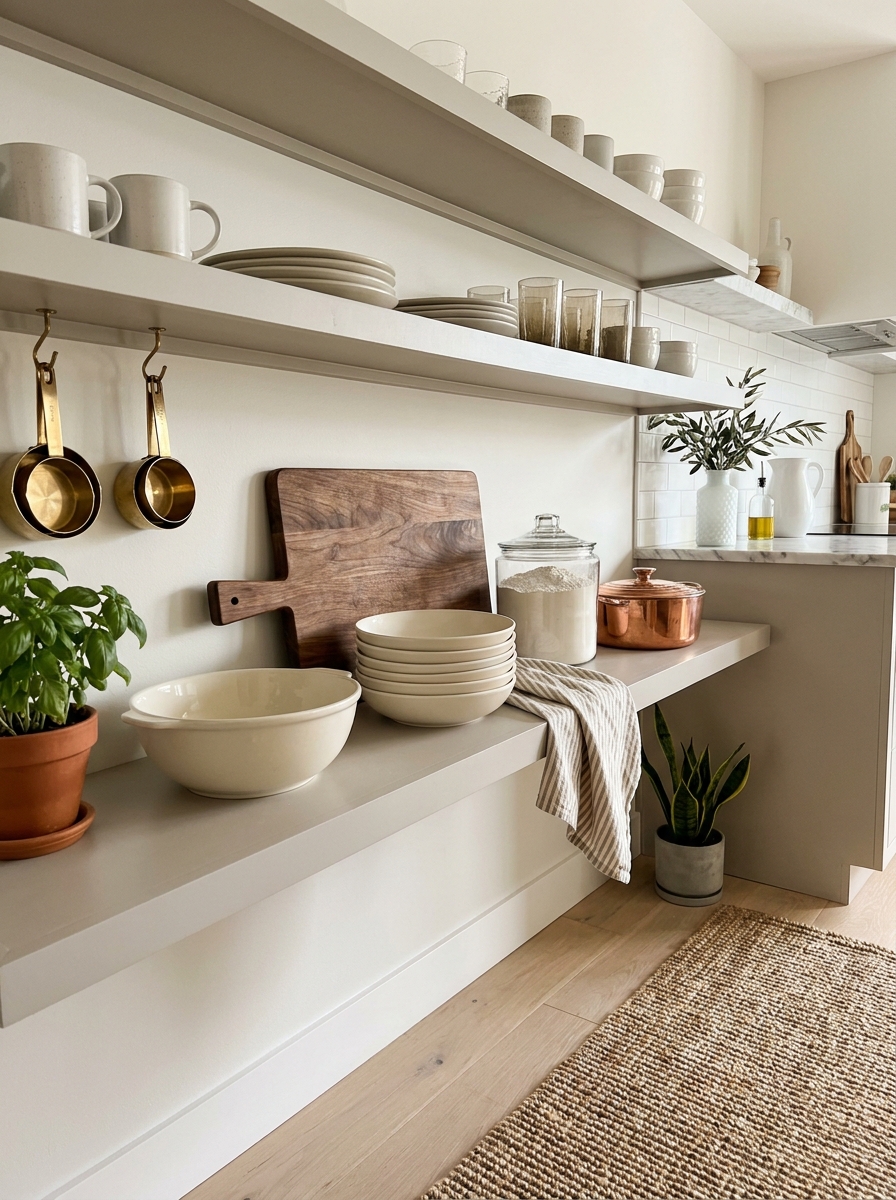
Here’s something nobody tells you about open shelving: physics matters! Your bottom shelf should house your heaviest items—not just because it’s safer (though it definitely is), but because it visually anchors your entire display.
Think about it. When you put substantial pieces like a big ceramic serving bowl, your heavy Dutch oven, or a chunky wooden cutting board down low, it grounds everything above it. Your lighter, more delicate pieces on upper shelves suddenly feel intentional instead of top-heavy. Plus, you’re way less likely to drop your grandma’s vintage mixing bowl when you’re not reaching above your head to grab it.
I love using this bottom real estate for my most beautiful workhorses—the stuff that’s heavy but gorgeous. A stack of wide pasta bowls, my enameled cast iron pot, large glass storage jars filled with flour. These pieces earn their spot because they’re both practical and pretty. And honestly? It just feels right when your display has that solid, grounded foundation.
11. Let Your Most-Used Items Take Center Stage
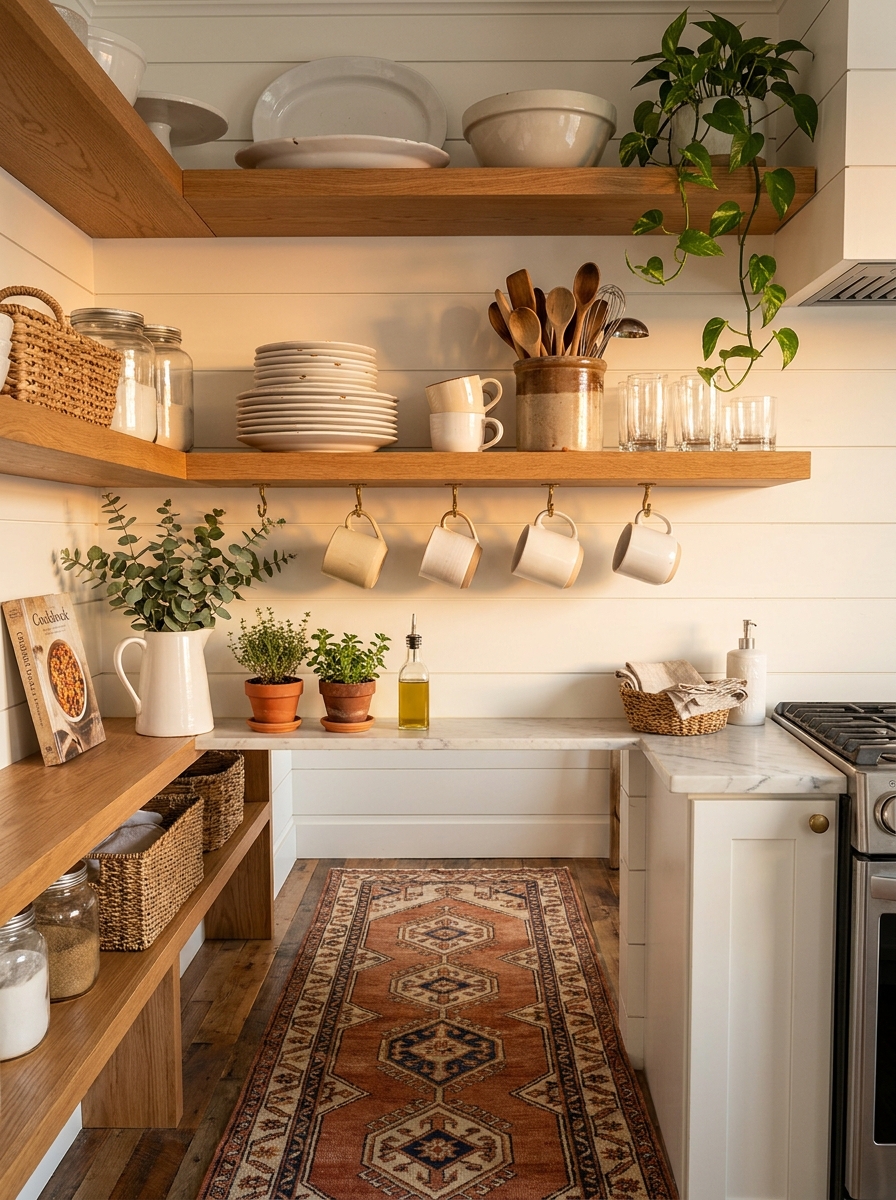
Stop hiding the stuff you actually use! I see so many people putting their everyday dishes in closed cabinets while displaying things they never touch on their open shelves. That’s completely backward, and honestly, it’s making your life harder.
Your open shelves should work for you. If you make coffee every single morning, those mugs deserve prime real estate at eye level where you can grab them without thinking. Use your fancy dishes four times a year? Maybe they don’t need the best spot. This isn’t about being precious with your pretty things—it’s about making your kitchen actually functional while still looking amazing.
I rearranged my shelves this way last year and it changed everything. My everyday white plates are front and center. My water glasses are exactly where I reach without looking. My wooden spoon crock sits right next to the stove. And you know what? Because I use these things constantly, they never get dusty or neglected. They look lived-in and loved because they are.
12. Add Unexpected Elements That Make People Look Twice
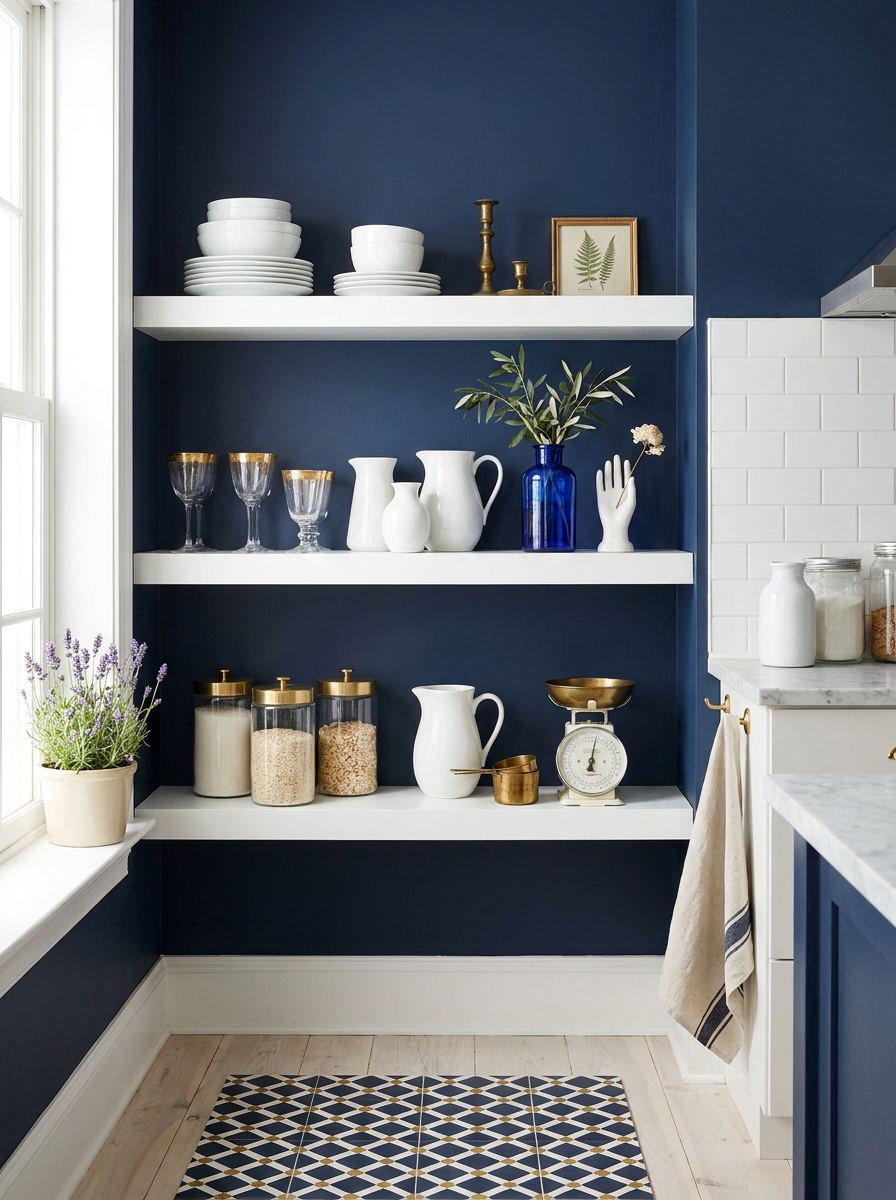
Okay, this is where you get to have some actual fun. Once you’ve nailed the basics—your dishes are organized, your spacing looks good—throw in something completely unexpected. This is what takes your shelves from “nice” to “wait, I need to look at that again.”
I’m talking about things that don’t necessarily belong in a kitchen but somehow work perfectly. A small vintage brass candlestick. A framed tiny print leaning against the wall. A beautiful old bottle you found at a flea market. Maybe even a small sculptural object that just makes you happy. These little surprises give your shelves personality and make them feel like yours, not something you copied from a catalog.
The key is restraint—one or two unexpected pieces per shelving unit, max. You’re adding intrigue, not creating chaos. I have a small vintage blue bottle on my shelf that has absolutely no kitchen function, but it catches the light so beautifully next to my white dishes. Every single person who visits asks about it. That’s the magic of the unexpected.
13. Play With Symmetry Without Being Matchy-Matchy
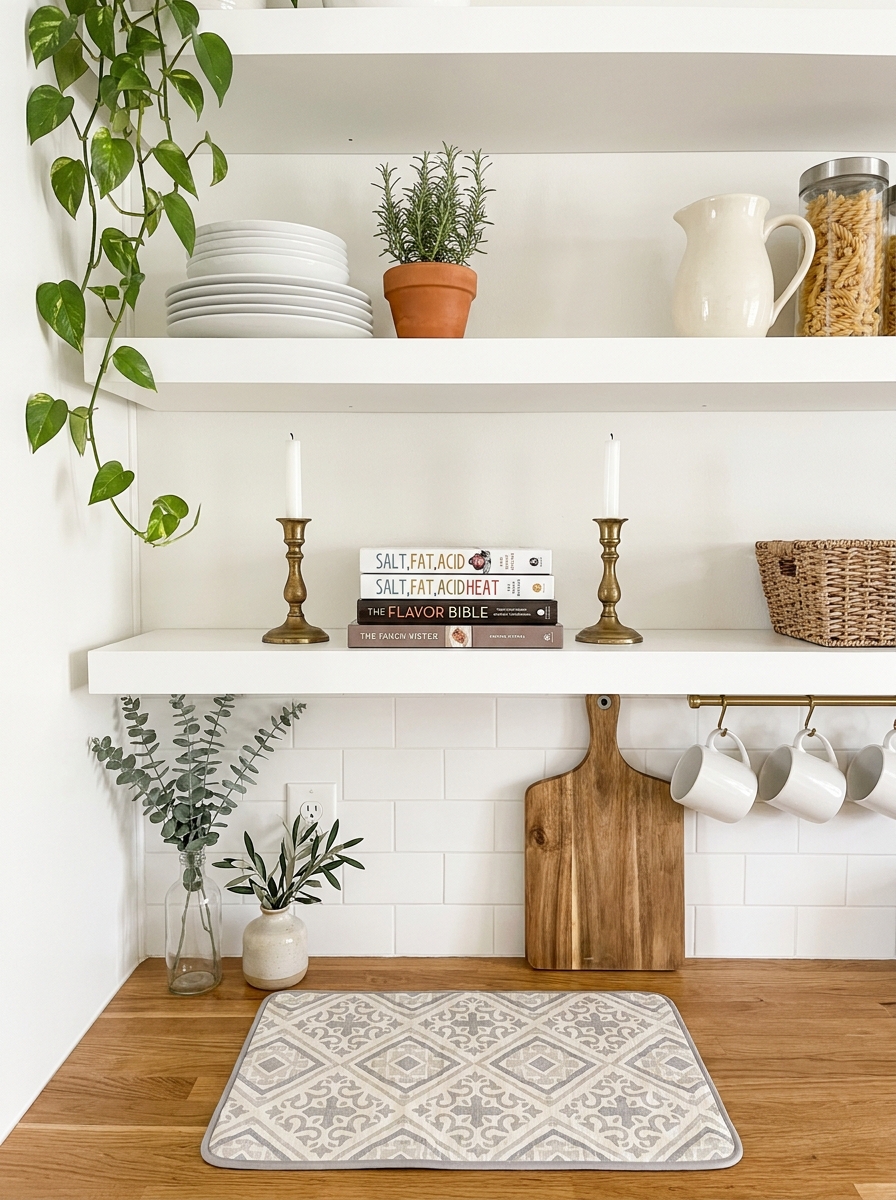
Here’s the thing about symmetry—it’s incredibly pleasing to our eyes, but total mirror-image matching feels stuffy and staged. Instead, aim for balanced symmetry where both sides have equal visual weight, but totally different items.
Think of it like this: a stack of three dinner plates on the left can be balanced by a medium-sized pitcher on the right. A row of mugs on one side pairs beautifully with a few glass canisters on the other. Same general height and volume, completely different vibe. Your brain registers harmony, but your eye stays interested because there’s variety to explore.
I love doing this with color too. If you’ve got white dishes clustered on the left, echo that brightness with white canisters or a white vase on the right. The color creates the symmetry, not the actual objects. It’s so much more interesting than lining up matching sets like little soldiers. This approach works especially well on shelves flanking a window or range hood where natural symmetry already exists in your architecture.
14. Lean Things Instead of Always Stacking Them
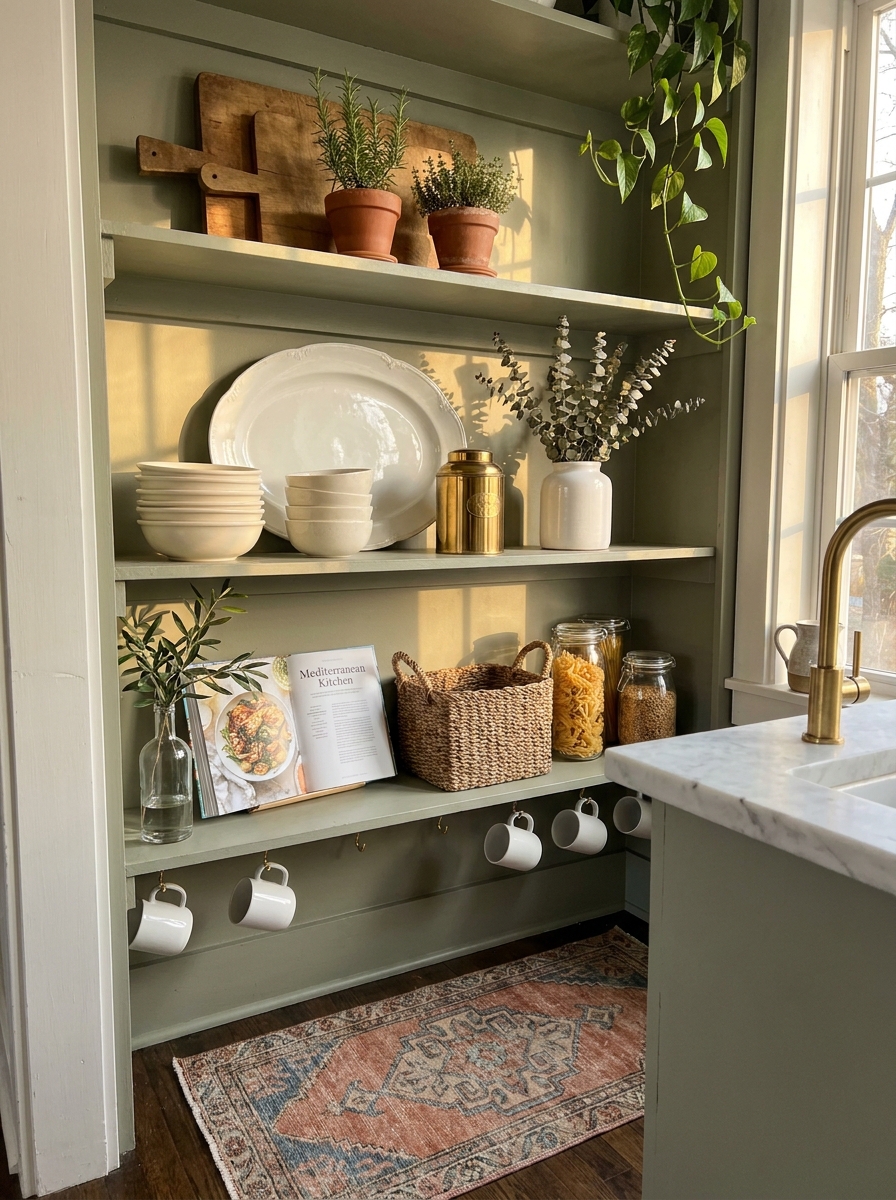
Okay, this might sound too simple to matter, but leaning items instead of stacking them flat changes everything. It adds this casual, collected-over-time feeling that makes your shelves look less “decorated” and more lived-in.
Cutting boards are the obvious choice here—lean them vertically against the back wall instead of laying them flat. Instant visual interest and they take up way less shelf real estate. Small framed prints, vintage platters, even a pretty cookbook with a gorgeous cover—all of these look infinitely better leaned than stacked.
The magic happens because leaning creates angles and layers. Your eye travels along those diagonal lines, which keeps things dynamic. Plus, it’s just easier to grab that cookbook or cutting board when you actually need it. I started doing this years ago and now I can’t stop—I lean serving platters behind stacks of bowls, prop small art prints behind canisters, even lean a small mirror to bounce light around. It’s such an easy way to add dimension without adding more stuff.
15. Choose a Signature Material That Repeats Throughout
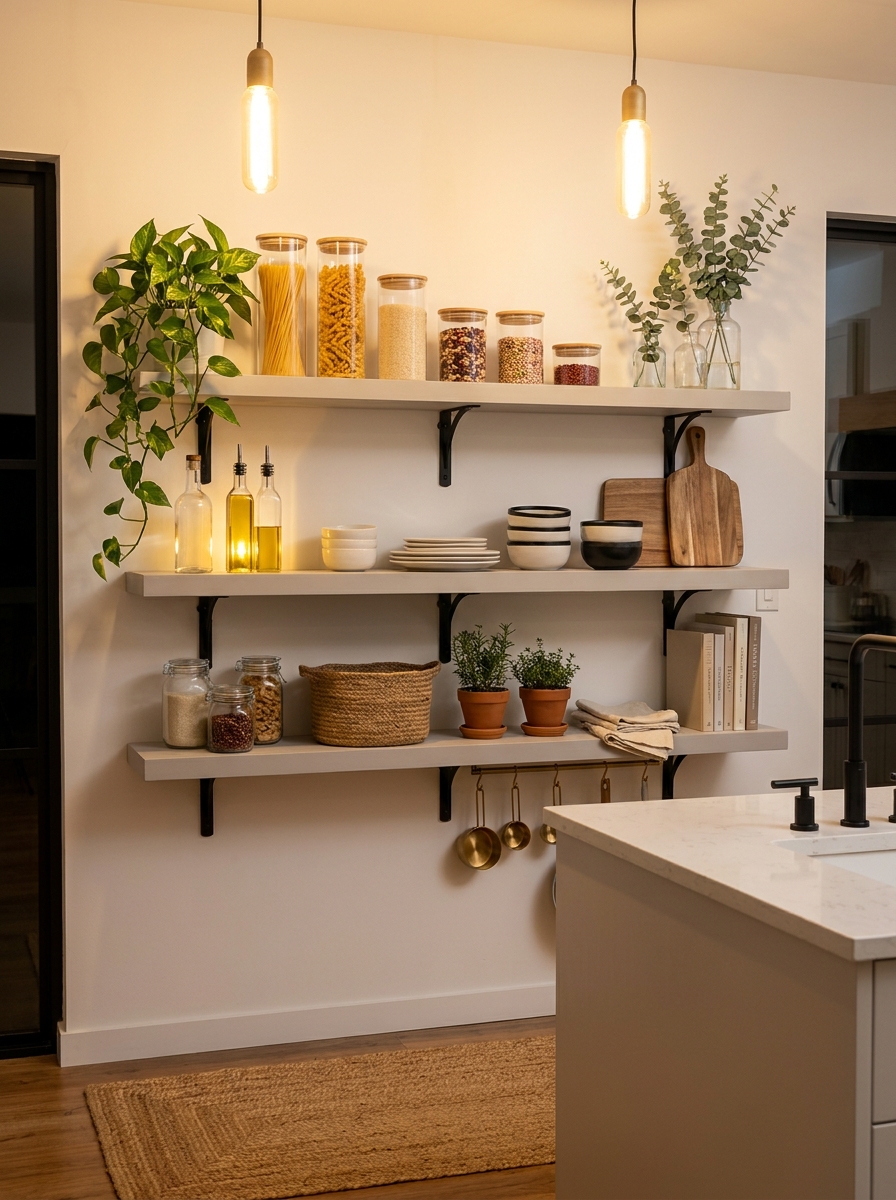
When your shelves feel chaotic even though you’ve followed all the rules, you’re probably missing a signature material that threads everything together. This is your secret weapon for instant cohesion.
Maybe it’s glass—glass canisters, glass vases, glass bottles all catching the light in the same beautiful way. Or perhaps it’s ceramic in a specific finish, like matte white or glossy cream that shows up on every shelf in different forms. I’m obsessed with warm terracotta right now, so I’ve got terracotta pots for herbs, a terracotta vase, even terracotta-colored linens peeking out of baskets.
This signature material becomes your visual thread. It doesn’t have to be the star of every shelf, but when that same texture or finish pops up repeatedly, it creates rhythm. Your eye recognizes the pattern and everything suddenly feels intentional and curated instead of random. The beautiful part? You can still mix in tons of other materials—wood, metal, more ceramics in different colors—but that one repeating element holds it all together like the best kind of design glue.
16. End Each Shelf With a Purposeful Bookend Moment
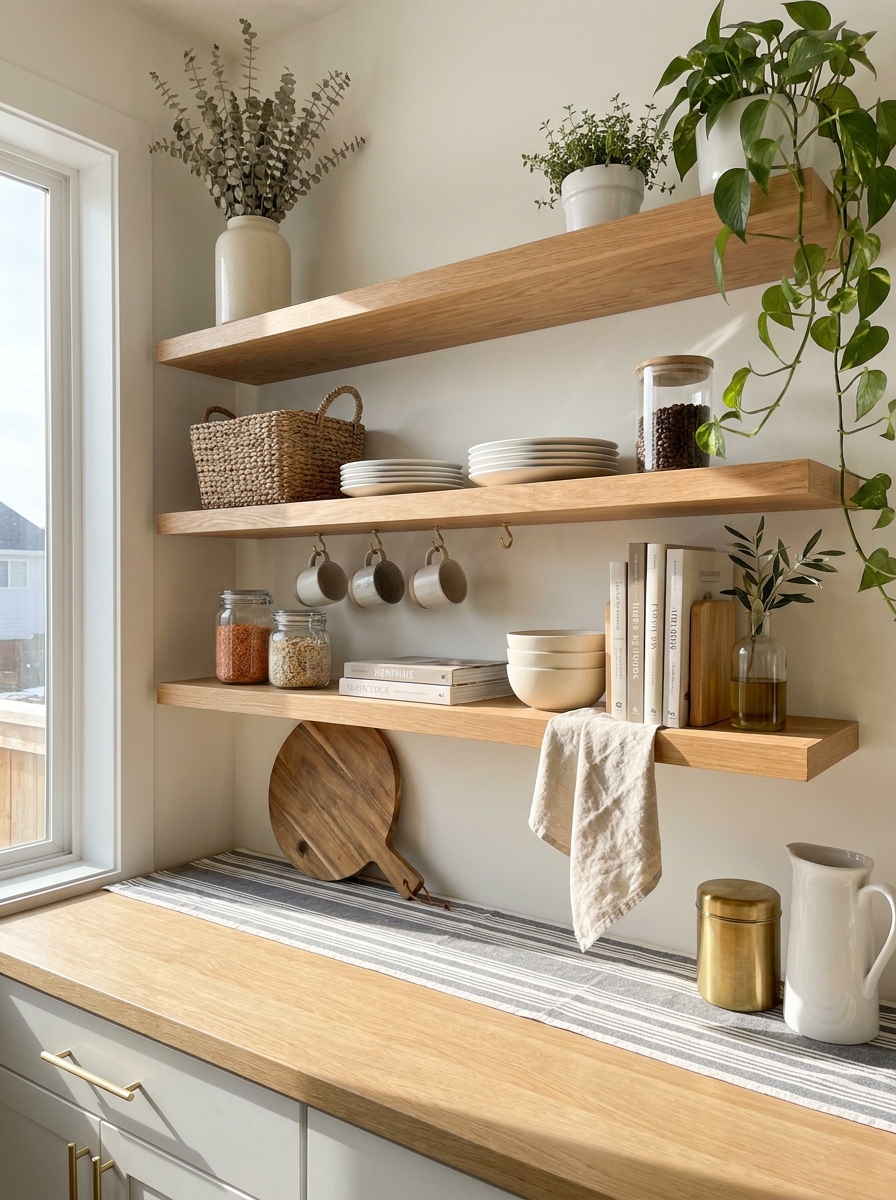
The edges of your shelves are prime real estate that most people completely ignore. But treating each shelf end like a little bookend moment—something that signals “this is complete”—makes such a difference in how polished everything looks.
On one end, maybe it’s a small plant that softens the hard edge. On the other, a pretty canister or a stack of small bowls. The key is making sure nothing feels like it’s about to tumble off into space. You want each shelf to feel anchored on both sides, like there’s a clear beginning and end to the composition.
I also love using these bookend spots for things with height—a tall bottle, a pitcher, a plant with some vertical energy. It draws your eye up and down the entire shelving unit instead of just scanning horizontally across each shelf. Just avoid putting anything too heavy or precarious right on the edge (learned that lesson the hard way). These bookend moments frame everything in between and make your whole display feel intentional and complete instead of trailing off into nothingness.
17. Incorporate Small Moments of Life Between the Pretty Stuff
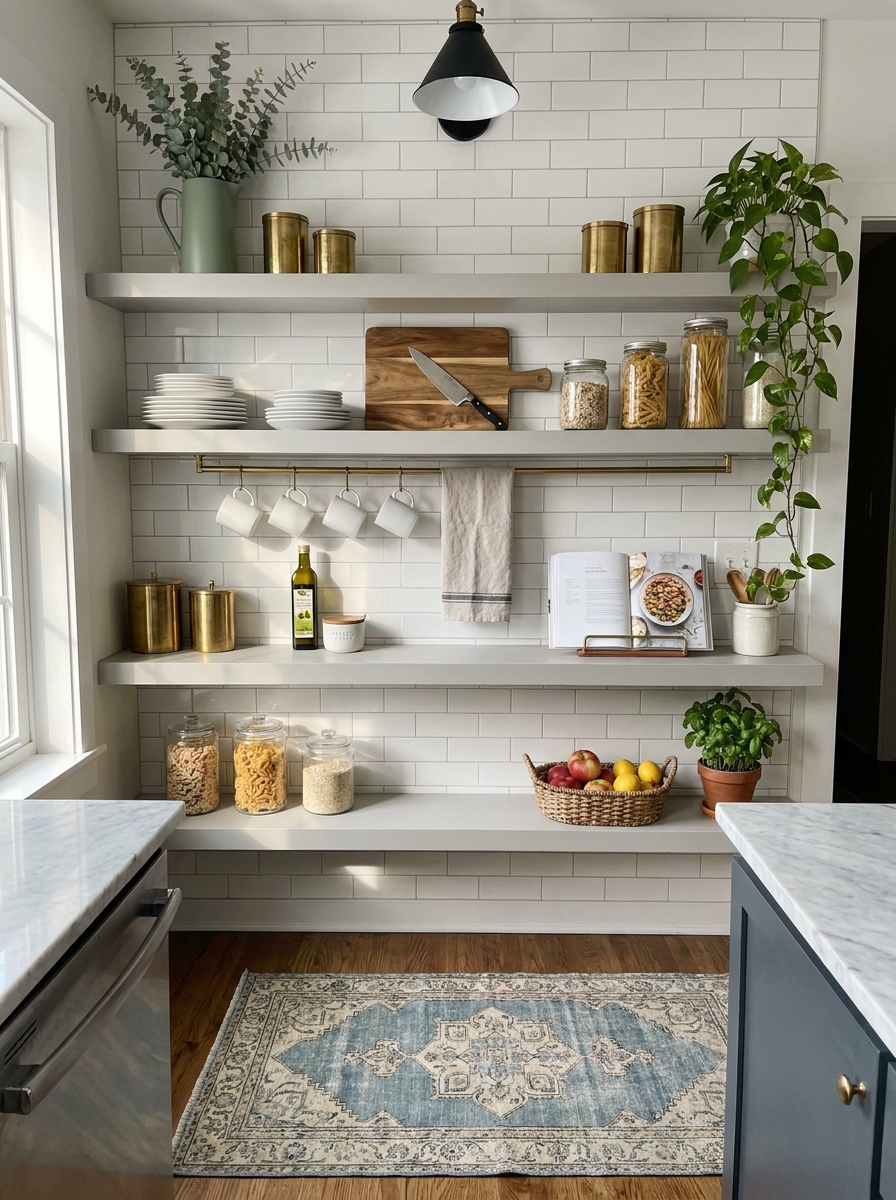
Here’s what makes open shelving feel like yours instead of a catalog: the little signs that real people actually cook here. I’m talking about that wooden spoon resting against a crock, a tea towel casually draped over the edge, or a half-used bottle of olive oil that’s beautiful enough to display.
These aren’t styling mistakes—they’re what bridge the gap between magazine-perfect and actually livable. When everything is too pristine, it feels untouchable. But add a coffee mug mid-use or a small cutting board with a knife resting on it, and suddenly your shelves look like a real kitchen where good things happen.
I love keeping a small brass tray on one shelf where my everyday olive oil and salt cellar live. It corrals the functional stuff but keeps it pretty. Same with a little dish for tea bags or a jar with wooden spoons. These working elements mixed in with your styled pieces tell the story that this kitchen isn’t just for show—it’s where you actually make your morning coffee and weeknight dinners.
18. Build in Opportunities for Quick Shelf Refreshes
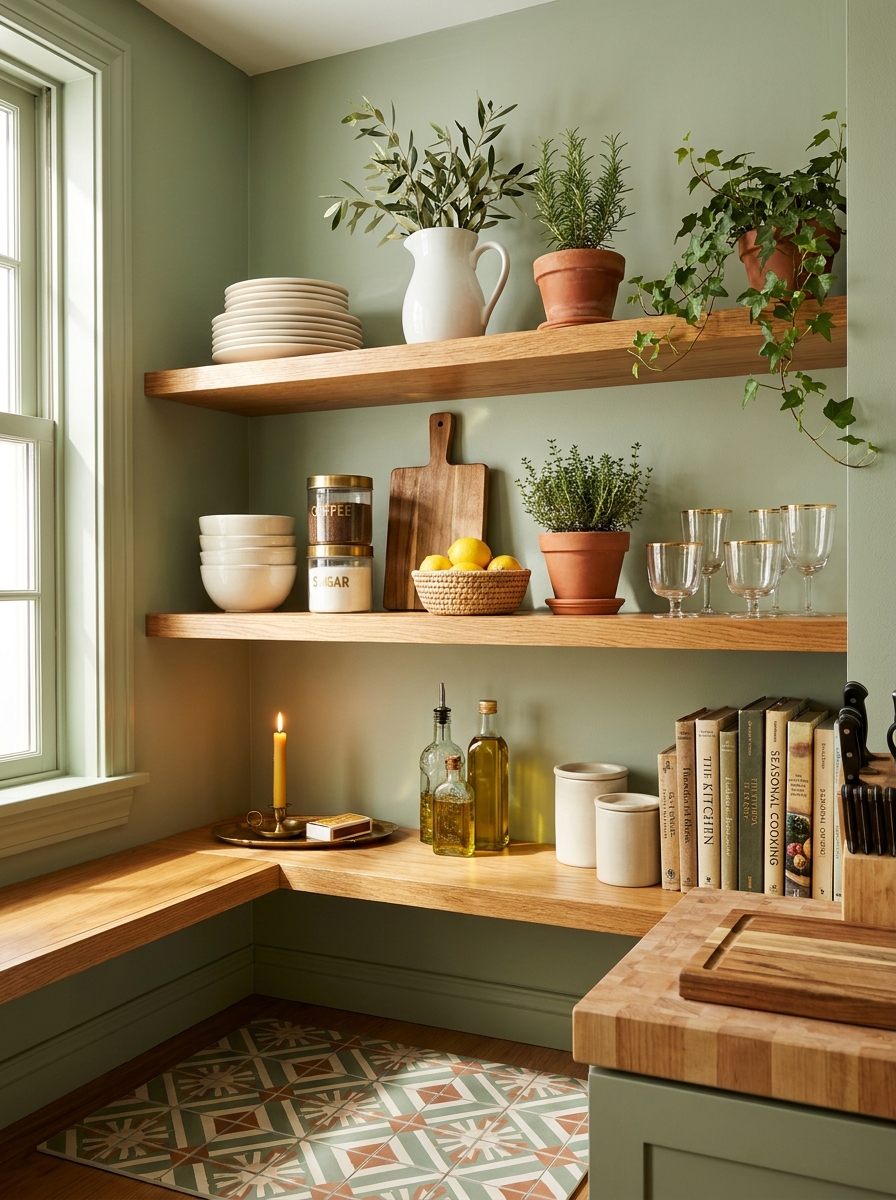
The beauty of open shelving is that you can change the vibe in about five minutes flat. But that only works if you design your system with flexibility built right in. I’m obsessed with having a few “swap spots” on my shelves—places where I can easily switch something out without disturbing the whole arrangement.
Think of it like having a picture frame you change seasonally, but for your kitchen. Maybe it’s a vase that holds different stems throughout the year—cherry blossoms in spring, dried grasses in fall. Or a small tray where you rotate candles, seasonal fruit, or whatever catches your eye at the farmers market.
The key is anchoring most of your shelves with the permanent players (your everyday dishes, your big serving bowls, your collection of glasses) so those stay put. Then leave a few strategic spots open for rotation. This keeps your shelves feeling current without the stress of completely restyling every time you want a change. It’s like having a capsule wardrobe, but make it kitchen shelving.
Quick Guide
Quick Shelf Styling Formula:
Bottom Shelf: Heavy items + baskets + cutting boards (things you grab often)
Middle Shelf: Everyday dishes + glassware + 1-2 decorative pieces (eye-level beauty)
Top Shelf: Less-used items + tall vases + greenery (visual height)
The 60-30-10 Rule:
– 60% functional items you actually use
– 30% beautiful functional items (pretty dishes, nice jars)
– 10% purely decorative (plants, art, collectibles)
Color Balance:
Stick to 3 main colors max across all your shelves—usually neutrals with one accent color. Too many colors reads as cluttered chaos, not curated kitchen.
Your Shelves, Your Way
Here’s what I want you to remember: your open shelves don’t have to look like a magazine spread every single day. They just need to feel good to you. Some days they’ll be perfectly styled with everything in its place. Other days, you’ll shove things back quickly after dinner and that’s completely fine. The whole point of these 18 strategies is giving you options that work with real life. Start with one shelf and try a few of these ideas. Move things around until it clicks. Use what you already own before buying anything new. And please, please don’t stress about making it perfect. The best open shelving strikes that beautiful balance between looking put-together and being totally functional for how you actually cook and live. Your kitchen should make you happy when you walk into it, not anxious about whether your mug handles are all facing the same direction. Style your shelves in a way that makes you smile, and you’re doing it exactly right.
Frequently Asked Questions
How do I keep open kitchen shelves from looking cluttered?
The secret is editing ruthlessly and leaving breathing room. Only display about 60% of what your shelves can physically hold. Group similar items together, use matching or coordinating dishes, and incorporate closed containers for anything that looks messy. Leave empty space between groupings so your eye has places to rest.
What should I put on open kitchen shelves besides dishes?
Mix in wooden cutting boards, woven baskets, glass storage jars, cookbooks, small potted herbs, ceramic pitchers with fresh greenery, and vintage finds like old scales or canisters. The key is balancing functional items you actually use with a few purely decorative pieces that add personality. Aim for 60% functional, 30% beautiful-functional, and 10% decorative.
How often should I clean and restyle open shelving?
Dust your shelves weekly with a microfiber cloth—it takes five minutes and prevents buildup. Do a full restyle seasonally, or whenever something starts feeling off. Wipe down dishes and containers monthly even if you’re using them regularly, since open shelves collect more dust than closed cabinets.
What color dishes work best for open shelving?
White, cream, and natural earth tones are the easiest to style because they work with any kitchen color scheme and look cohesive even when mixing different pieces. That said, if you love colorful dishes, absolutely use them—just keep the same color family together on one shelf so it looks intentional rather than random.
Can I mix different styles of dishes on open shelves?
Yes, but stick to a unifying element—same color palette, similar material, or consistent era. Mixing modern white plates with vintage glassware works if they share a color story. Mixing modern, rustic, and colorful all together usually looks chaotic. Choose one cohesive vibe and build from there.